Figure 4

Figure 5

Figure 6

Figure 6b

2. Assembling and Gluing your Stretcher
You will need:
Wood glue
Hammer
Small nails
Setsquare
4 lengths of quadrant cut to the same length as you stretcher sides.
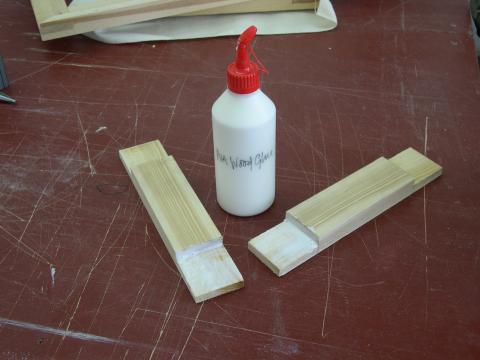
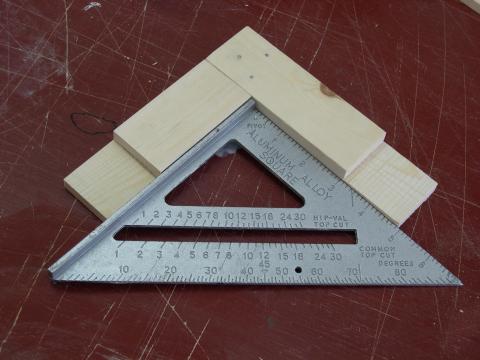
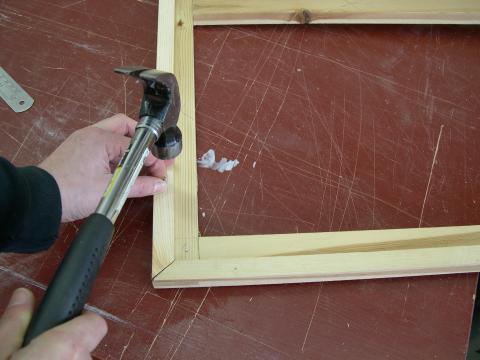
Take one of the longer lengths and one of the shorter lengths of wood, apply glue to the joint, including the small faces of each piece, then stick the lengths together. Using the setsquare to make sure you keep the joint at a right angle, hammer four or five nails into the joint to keep it in place while the glue dries. See figures 4&5.
Continue round the stretcher, gluing and nailing, checking the joints are straight with the setsquare as you go.
If you are making a stretcher with a cross bar, glue and nail these joints after you have made the stretcher itself.
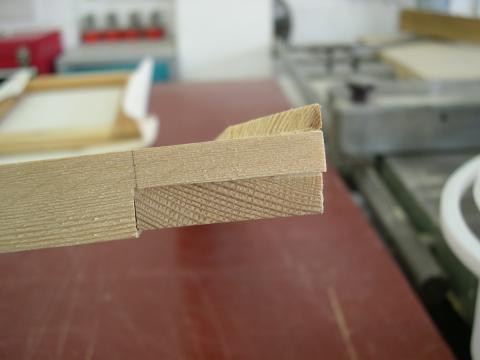
When you have made your stretcher you now need to attach your quadrant. This will prevent the inner edge of the stretcher making a visible ridge on the canvas when you are painting on it. Glue and nail the quadrant all the way round the edge of the stretcher, making sure that the right-angled edge of the quadrant is placed on the stretcher surface and that the wider edge runs along the outside. See Figures 6&6a.
Leave the stretcher to dry for a couple of hours before stretching your canvas.
GO TO PART 3 - stretching-your-canvas