4. Sizing and Priming your canvas - STRETCHER MAKING WORKSHEET part 4
4. Sizing and Priming your canvas
You will need:
PVA diluted in a ratio of 1:5 with water
Brushes
Primer (acrylic gesso or household emulsion)
Fine grit (120) sand paper
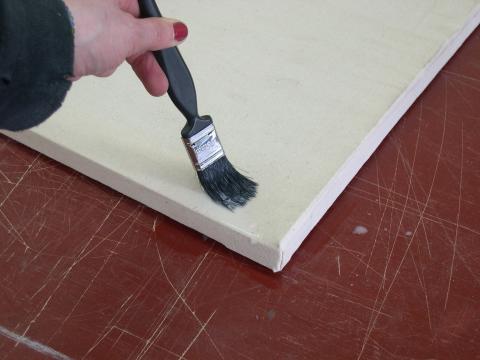
Firstly, size your canvas with the PVA and water mixture. This will act as a protective layer
and will prevent the canvas from rotting in the future. Work the size into the canvas using
a circular motion with the brush. Make sure you cover the whole surface including the
sides of the stretched canvas, taking care not to leave any gaps. Allow to dry. See figure
10.
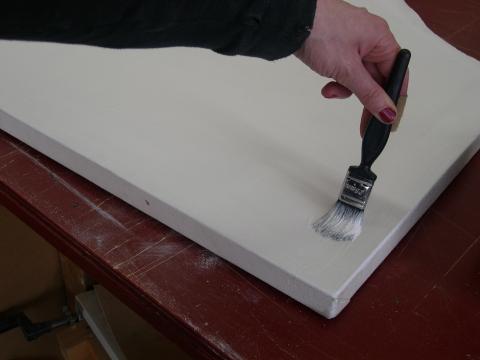
When the size layer has dried, your canvas is ready to prime. Using acrylic gesso primer
or household emulsion, prime the canvas using a brush, working in all directions. When
this layer has dried, apply a second coat. See figure 11.
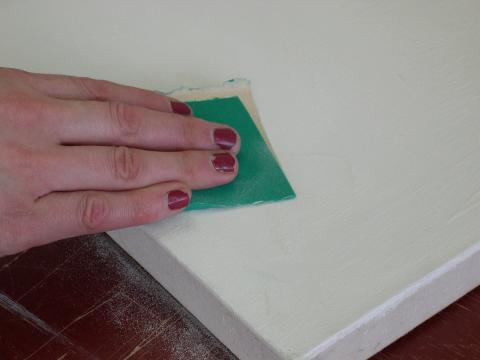
When the primer is fully dry, lightly sand the surface using fine grit sandpaper. Do this
across the whole surface until you have created a fine, smooth surface, ready to paint on.
See figure 12.
Sanding the primed surface prolongs the life of your brushes by not
wearing down the bristles. By running your hand across the surface you can feel any area
you may have missed.
When this process is complete, your canvas is ready to work on.
")
To the extent possible under law, all copyright and related or neighboring rights to this Work, 4. Sizing and Priming your canvas - STRETCHER MAKING WORKSHEET part 4, by hsimson are Reserved.


Comments
Thank you for explaining in detail.