3. Stretching your Canvas - STRETCHER MAKING WORKSHEET part 3

3. Stretching your Canvas
You will need:
Sandpaper
Staple guns and staples
Canvas cut approx 5 cms larger than stretcher all the way round
When your stretcher has dried and the joints are stable, lightly sand the edges to remove any splinters or sharpness that may damage your canvas.
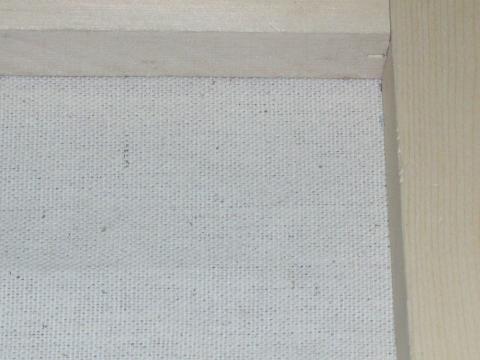
Lay out the canvas on a flat surface and place the stretcher upside down, squarely and centrally onto it. It is important that the weave of the canvas is lined parallel with the sides of the stretcher so that the canvas will stretch evenly over the frame. See figure 7.
Make sure that you have a 5cm (approx) overlap of canvas running all the way round your stretcher, you will need this to fold and fix the canvas to the stretcher.
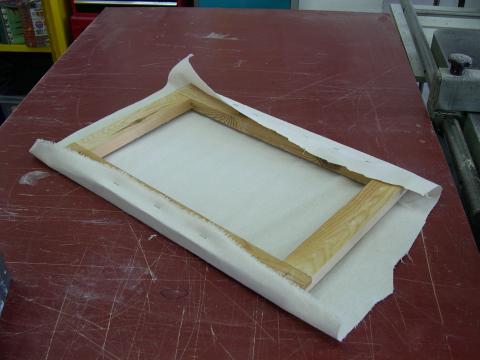
Starting in the centre of one of the longer sides, fold the canvas around the stretcher and staple to the centre of that side, working out one or two staples in each direction, keeping the staples about 7cms apart. Then, working from the opposite side of the stretcher, pull the canvas taut and begin stapling from the centre working outwards but not right up to the corners. Pull the canvas in the direction of the corner you are working to, this will prevent the canvas wrinkling. Then go back and complete the first side, again
leaving the corners until later. See figure 8.
Always place the staples opposite the corresponding staples on the other side of the stretcher. This will ensure a tightly stretched canvas. Repeat the process on the other two sides of the stretcher until you have the whole canvas stretched except the corners.
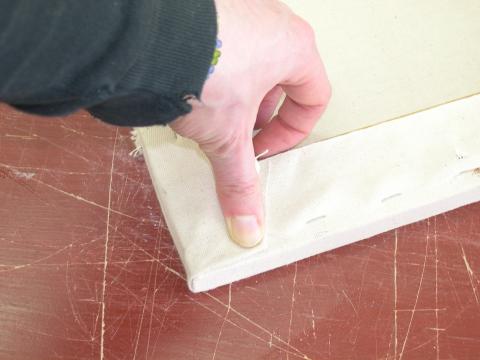
To fold the canvas neatly around the corners takes practice. Firstly, create a fold diagonally in from the top corner of the stretcher. Staple this fold down to the stretcher. See figure 9.
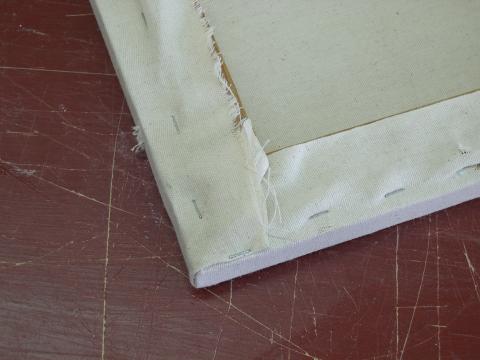
Then, bring the canvas up from the bottom edge, making sure the fold runs along the corner of the stretcher. See figure 9a. Staple this fold down on top of the previous fold. This should have created a neat corner with no folds or ridges along the sides of the stretcher. See figure 9b.
Repeat this around the other three corners and your stretcher is now ready to size and prime.
GO TO PART 4 - sizing-and-priming-your-canvas-stretcher
")
To the extent possible under law, all copyright and related or neighboring rights to this Work, 3. Stretching your Canvas - STRETCHER MAKING WORKSHEET part 3, by hsimson are Reserved.