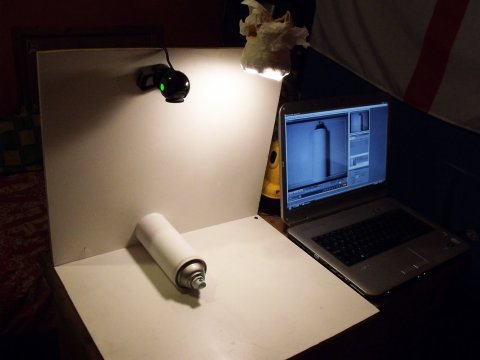
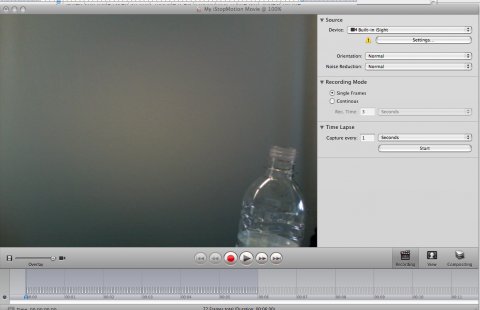
Fig.1 - Set up your camera onto a tripod with the camera looking down onto your object as in the image below and place what you want to animate onto the screen.
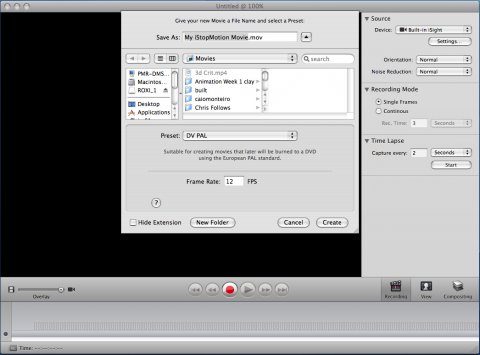
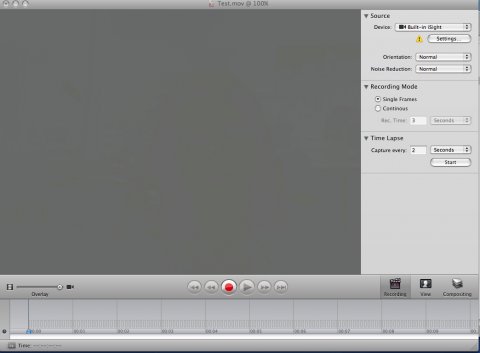
Fig.2 Go to Application > Launch I STOP MOTION. The window below if what you find when you open launch I Stop Motion.
Give a title and click ‘create’ to save your project.
CREATE A NEW FOLDER: before saving your project. Make sure you know where you save it on the computer. (See Basics of Apple Mac for more info…)
PRESET: The standard Preset is DV Pal. Make sure you know how do you want to show your work at the end as this may require you to change the preset to DV Pal Widescreen or customised your own setting.
FRAME RATE: The standard speed you will need to shoot your movie is 12 frames per second. So bear in mind that every 10/12 frames you capture, is going to be one second.
SHOOTING: start taking individual shot. Manually move and/or draw each stage of your animation and click the red button every time. Keep doing this over and over again. (This is a very time consuming process therefore is essential you timetable your time as it is writing a script and creating a structure for your animation before starting the actual shooting).
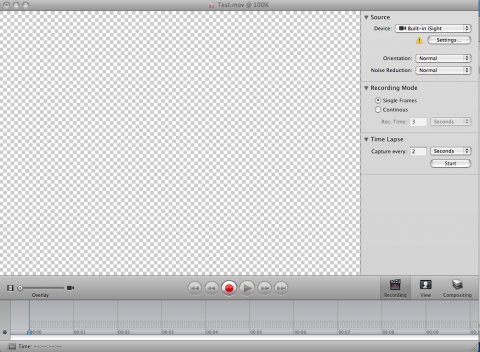
Fig.3 On the left corner on the bottom of the screen on the I Stop Motion opening window, you will see a bar that says overlay. Keeping the cursor in the middle will create a ghost image enabling you to see every image you shoot in relation to the previous one.
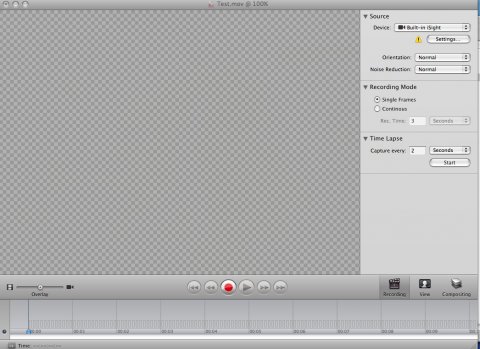
Fig.4 If you drag it completely to the right you will see only the image you shot last.
Fig.5 I you drag it completely to the left will allow you to see your movie after you have finished shooting.
When you have taken all your footage, each individual frame will appear on the timeline.
To play back your movie drag the overlay cursor to the left and click the second rewind button at the left of the red button and then click the play button.
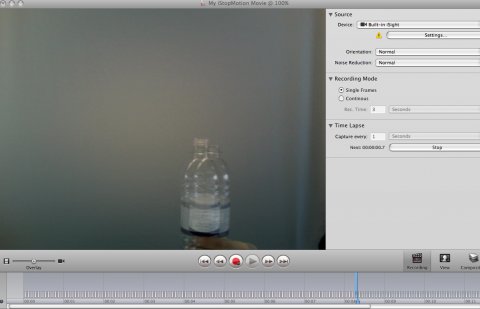
Rather then clicking the red button manually for each individual frame you can set up a time lapse and capture a n image every 1, 3 or 5 second depending on your animation.
Fig.6/7 This is how you make a basic I stop motion movie. The images below show the process of building up the individual frame.
| Attachment | Size |
|---|---|
| basics_of_i_stop_motion.pdf | 9.86 MB |
| basics_of_i_stop_motion.doc | 7.1 MB |
| 59193903.mp4 |
9.26 MB |
Clay animation workshop from englishplusFilm on Vimeo.
| Attachment | Size |
|---|---|
| basics_of_i_stop_motion.pdf | 9.86 MB |
| basics_of_i_stop_motion.doc | 7.1 MB |
| 59193903.mp4 | 9.26 MB |

This collection, Basics of i Stop Motion, by Rossella Emanuele (handout) Chris Follows (video) is licensed under a Creative Commons Attribution-NonCommercial-ShareAlike 4.0 International license.

